Loading... #### 一、子组件 ##### 1、在 components 文件夹中新建组件 slotPage ###### (1)、html ```html <template> <view class="wrap"> <view class="main"> <scroll-view class="scroll-view" :scroll-top="scrollTop" :scroll-y="true" @scroll="scrollFun" :scroll-with-animation="true" @scrolltolower="onReachBottomFun"> <slot name="main"></slot> </scroll-view> </view> <view class="arrow" v-if="toTop" @click="backTop"> 箭头 </view> </view> </template> ``` ###### (2)、css ```scss .wrap { width: 100vw; height: 100vh; background: rgba(0, 0, 0, .3); .scroll-view { width: 100vw; height: 100vh; } .arrow { position: fixed; bottom: 20rpx; right: 20rpx; } } ``` ###### (3)、js ```js export default { name: "slotPage", data() { return { toTop: false, scrollTop: null, }; }, methods: { // 滚动事件 scrollFun(e) { this.scrollTop = null; if (e.detail.scrollTop >= 776) { this.toTop = true; } else { this.toTop = false; } }, // 触底 onReachBottomFun() { console.log('触底了!'); }, // 返回顶部 backTop() { this.scrollTop = 0; }, } } ``` > 组件创建成功 #### 二、父组件 ##### 1、在父组件中使用 ###### (1)、html ```html <template> <view class="content"> <slotPage> <template #main> <view class="content"> <image class="logo" src="/static/logo.png"></image> <view class="text-area"> <text class="title">{{title}}</text> </view> <view v-for="i in 200" :key="i">{{title}}内容 {{i + 1}}<br /></view> </view> </template> </slotPage> </view> </template> ``` ###### (2)、css ```css .content { display: flex; flex-direction: column; align-items: center; justify-content: center; } .logo { height: 200rpx; width: 200rpx; margin-top: 200rpx; margin-left: auto; margin-right: auto; margin-bottom: 50rpx; } .text-area { display: flex; justify-content: center; } .title { font-size: 36rpx; color: #8f8f94; } ``` ###### (3)、js ```js export default { data() { return { title: '首页' } }, onLoad() { }, methods: { } } ``` > 组件即可正常使用 #### 三、效果图 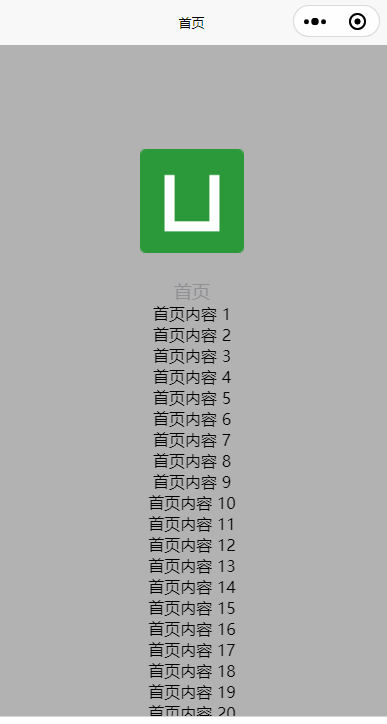 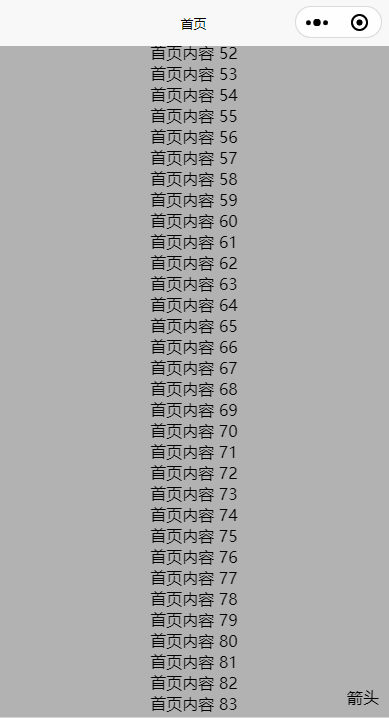 最后修改:2025 年 01 月 15 日 © 允许规范转载 打赏 赞赏作者 支付宝微信 赞 如果觉得我的文章对你有用,请随意赞赏
